Living Life Magically means you may not always be in Disney, but Disney & its magic is still with you! We probably incorporate Disney into every aspect of our lives, food is no exception, I believe things taste better in a Mickey shape, have you tried the famous Mickey waffles?
Recipe for our homemade Mickey fruit bar; it’s simple, sweet, and refreshing. Grab your aprons and measuring cups and spoons, time to whip up something tasty. First, let’s get our tools followed by our ingredients.
Tools
- Mickey bar popsicle tray (any popsicle tray will work)
- Measuring cup & spoons
- Blender
- Peeler
- Cutting board
- Knife
- Small bowls
- Small bag for peels (great compost for your garden)

Ingredients
- One Kiwi (peeled and diced)
- One Mango (peeled and bone removed)
- One Tangerine (peeled and separated into wedges)
- The Juice of a Lime Wedge
- 1 tbsp of Raw Honey
- 8 oz of Water
Step 1
Grab your mango, separated from bone cut into chunks, leave off a slice to dice up. Take your larger pieces and place them in a bowl.

Step 2
In your blender place, 8 oz of water with one tablespoon of honey and the juice of your lime wedge. To that mix, add your larger chunks of mango, remembering to leave aside enough to dice up for added texture in your Mickey bar. Blend what will become the base of your popsicles!

Step 3
Grab your Mickey bar trays and place your diced kiwi and mango. Take a tangerine wedge and place it by Mickey’s ear, we only used one wedge, but you can add as much as you’d like just leave room for the base to cover all the fruit evenly for the Mickey bar to form.

Step 4
Blended base should have the consistency of a purée more so than a smoothie; this makes for an ice cream like bar that takes longer to melt. Grab your base and pour, evenly covering all fruit and the entire tray, I allow it to settle by lightly tapping it onto the countertop and adding the support where needed.

Step 5
Once all Mickey bars are coated evenly, take your tray and put it in the freezer, check it in two hours to see if it’s fully frozen. We wait about 4 hours just to make sure and because we prefer them rock solid for a longer melting process.
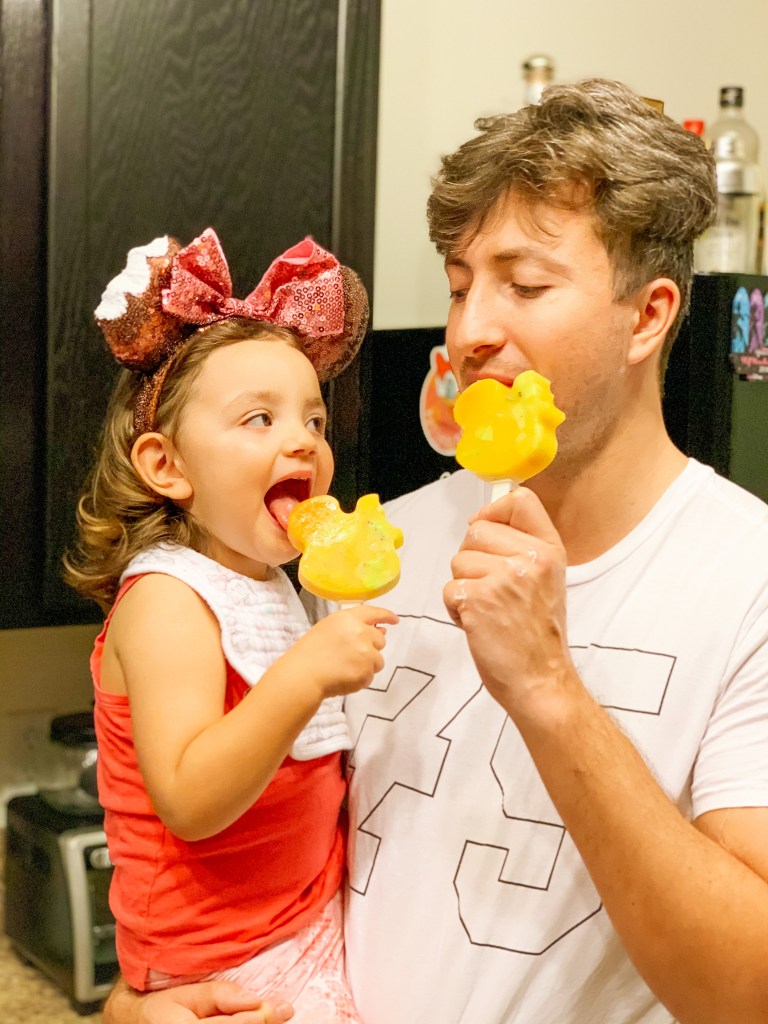
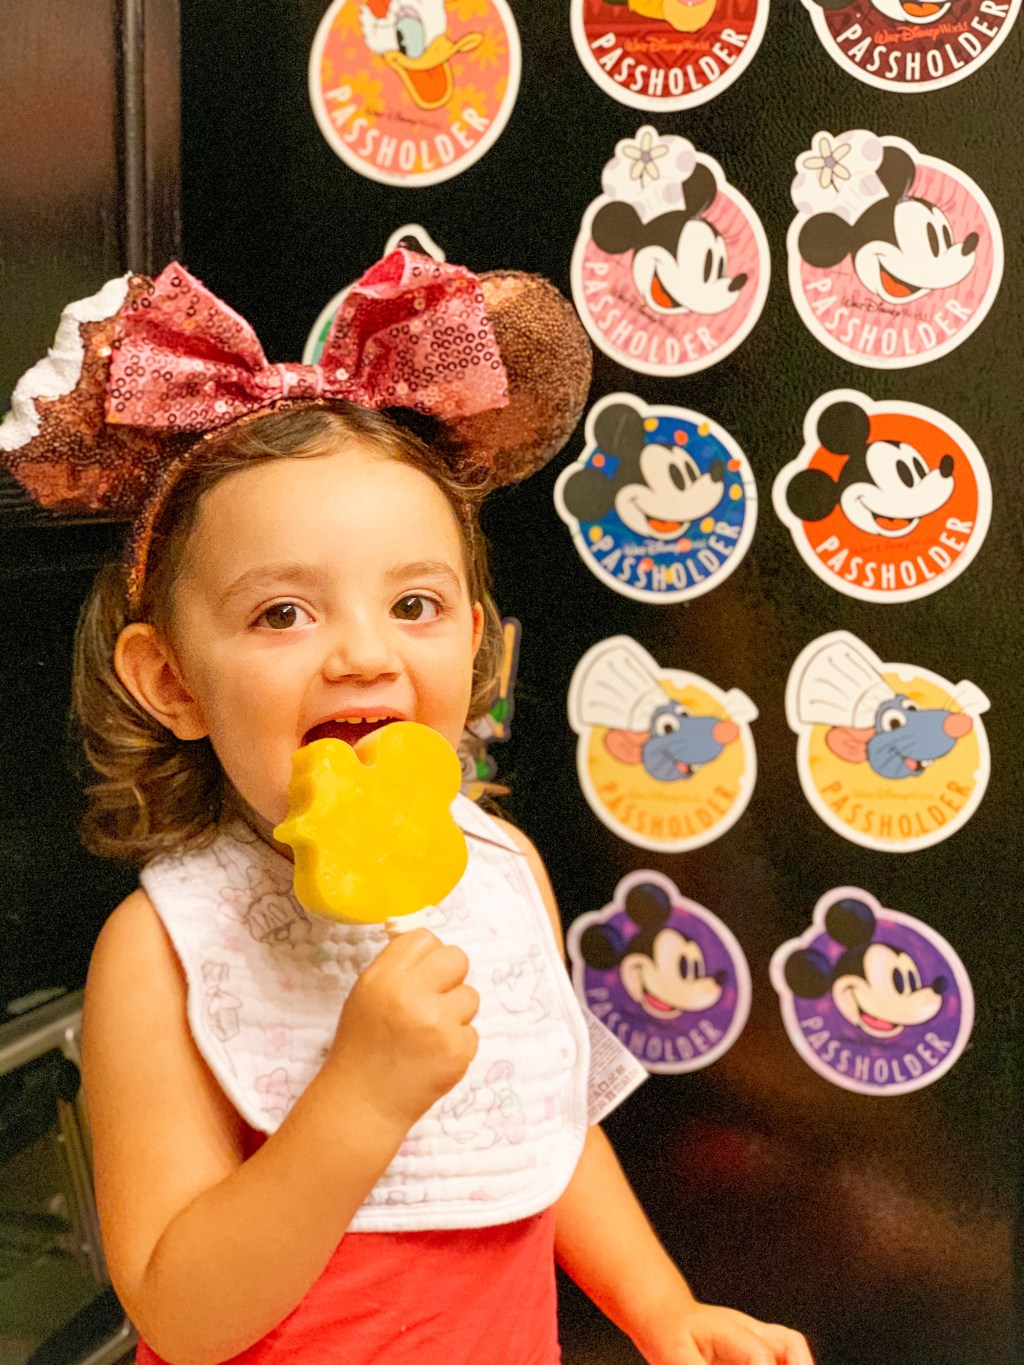
All fruit can be substituted for your favorite mix; it’s simple and easy for anyone to try and a fan favorite ranging from toddlers to grown-ups. You can always refer to our Recipes Highlight for a live step by step process of making these Mickey bars on our Instagram @LivingLifeMagically
This is how we added a touch of Disney to our day, how will you add a touch of Disney to yours? Always strive to live life magically, and you’ll find Disney everywhere you go! Enjoy making these and let us know how they turn out.
Until next time pals, Have A Magical Day!

Leave a comment